Why start this project?
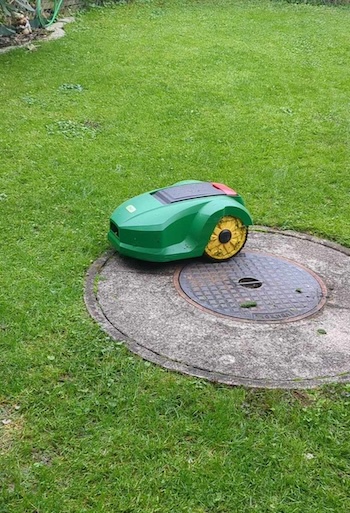
Robot lawn mowers are known for their convenience, but they tend to be quite pricey, especially for a small garden like mine. Naturally, I found a secondhand one for just 50 Swiss francs. It’s an older model that worked well initially but has since developed issues with its mainboard. The motors are good and it still cut fine, and the battery is in decent shape, but the electronics aren’t holding up.
After some searching, I realized that replacement parts for this outdated, budget-friendly model are hard to come by. So, I thought—why not create my own internals and firmware?

I’m no electronics expert, but I’m eager to learn. Here are my main goals for the project:
- Build a fully autonomous lawnmower that cuts grass reliably.
- Reuse as much of the existing hardware as possible.
- Ensure it connects to my WiFi network.
- Rely on a perimeter wire system instead of GPS.
The Project
This project will be a step-by-step journey, as it’s a big undertaking for me. I’ll break it down into several stages:
- Motor Control – Understanding how to control the motors.
- Basic Movement – Getting the robot to move on command.
- Perimeter Wire Setup – Figuring out how the perimeter wire system works.
- Perimeter Wire Integration – Ensuring the robot can detect and respond to the perimeter wire.
- Battery Management System – I’ll develop a battery management system that displays battery percentage and other key details.
- Testing and Bug Fixes – Finally, I’ll test the system thoroughly and fix any bugs to ensure smooth operation.
Motor Control

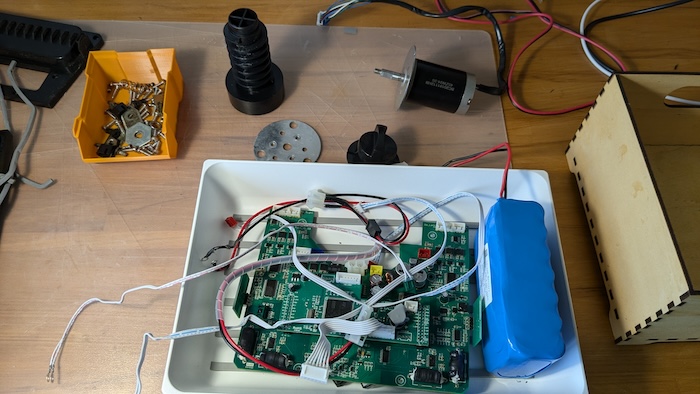
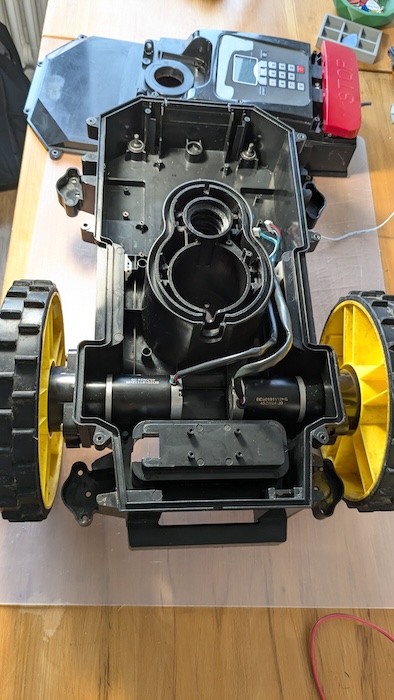
Let’s start with motor control. After taking the robot apart and separating the electronics from the casing, I cleaned everything thoroughly with water and soap. This left me with a pile of electronic parts and a plastic case.
The lawnmower has three motors: one to spin the blade for cutting and two for movement control. I’ll set aside the blade motor for now and focus on getting the movement motors working first.
After some online research, I found the motor part numbers and discovered they are 24V DC, 28-watt brushless motors. An important feature of these motors is that they’re equipped with Hall sensors, which help the motor rotate smoothly at low speeds—an advantage for precise movement. Knowing these specifications is essential, as it determines the type of controller I need.

With all that in mind, I went online to find an ESC that would be compatible. I quickly realized that ESCs with Hall sensor connectors were a bit too expensive, so I opted for a budget-friendly alternative without the Hall effect feature but with waterproofing.
I’ll start with these and see how it goes!
Update – October 30, 2024
The motors have arrived, but I realized I ordered the wrong type. They are brushed motors instead of brushless motors. Oops! I’ve placed another order, this time hoping to get the correct ones. I’ll be listing the motors I’ve purchased in the next post.
Conclusion
For now, I’ll have to wait for the ESC to arrive before I can start testing. Once it’s here, I’ll be able to move forward with motor control and see how everything works together.