Now I will show you how to deploy a VE and at the same time show you how I installed OMV.
But first what is OMV, open media vault or OMV for short is a free Linux distribution made to be a network-attached storage or more know as NAS.
So to start go to the OMV website and download the iso file to install.
Then I proceeded to upload the image to the proxmox. For that expand the menu on the left side and then in local and select ISO Images.
Then you can upload the image from your computer or you can directly download the image to proxmox. In order to do that click in Download from URL and then copy the download iso link.
When the download in done the image will be displayed on the ISO Image listing.
Now we can proceed to install the OMV. Click in the upper right corner Create VM.
Here you can give a name to your VM, you can also define if this VM will start when the proxmox server starts, that is helpful if you want the VM to start with the proxmox in case of a restart. Don’t forget to check the advanced options will be helpful for later.
Now we can chose what iso do we want the machine boot ups for the installation. If you are installing a windows don’t forget to change the type OS to the right one.
In here you can change want graphic card will be emulated or the BIOS that the VM will have. I just leave all as default.
In this window is about storage, now we can give a size for the virtual storage for the VM. Where says storage means in what physicall storage do you want the Virtual storage to be stored, I leaved this all as default, the disk size you can latter on resize it.
Here you can configure want cpu do you want emulate for now I will leave this all as default you can also later edit it.
Now the memory, now we define how much memory do we want the VM can use. Proxmox have this awesome setting where you can define the minimum memory so in case you define 4 gb of memory and a minimum of 2gb it means the machine will allways have 2gb but if the VM needs more it can go up to 4gb of memory ( this is a nice feature because VM at idle will leave free memory for other VM to use).
Next is the network tab but I leaved all at default for now.
At the end it will be displayed summary of the settings that we have selected and we just need to confirm and hit finish.
The VM will be created and will appear on the side with the name that you gave.
In order to start the VM select the vm you want to start and then hit start in the right corner
To see what is happening in the VM click console.
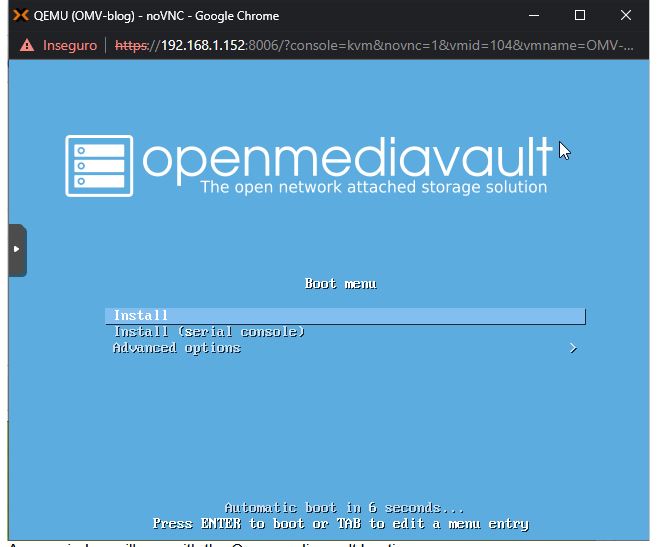
A windows will pop with the Openmediavault booting up. In this window you can use the keyboard and mouse to control the VM.
Now it’s just follow the installation process and then you will have a OMV ready to be used.
If later on you decide to upgrade your VM with more virtual hardware, just select the VM and then select the Hardware tab and in here you can do that. Some of the setting will require you to restart the VM to take effect others will take effect immediately.
If you read this and have any question about the topic feel free to ask bellow. Thank you.
